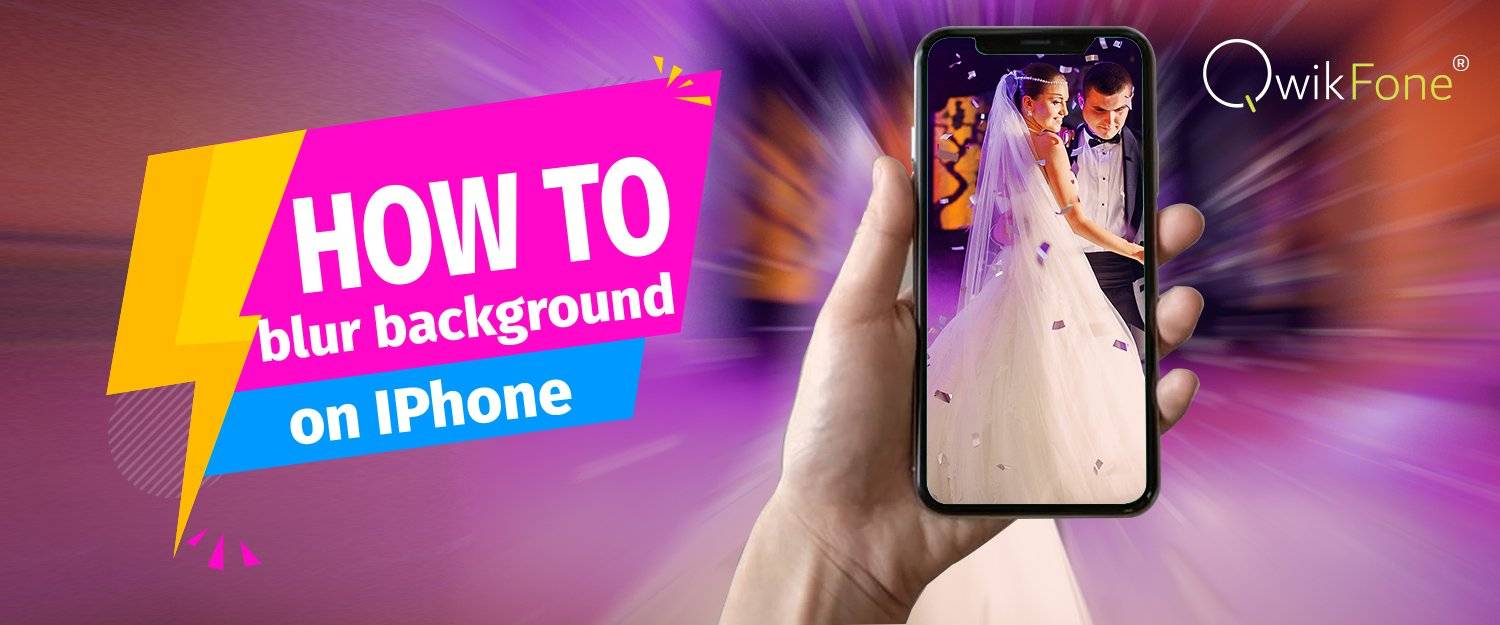
How to Blur Background on iPhone | Blur Photo on iPhone
qwikfone
November 10,2021
How to Blur Background on iPhone | Blur Photo on iPhone
by Ishaan Seth April 28, 2021
Background blur is a common technique photographers use for years as a way to keep the focus on the most important subject in their photographs.
The idea for this technique is to focus on the element in the foreground. This can be done by removing the hard lines and distancing detail in the background. This will truly make the element pop.
Blurring the image background will help you hide certain elements of the image you do not want to see clearly. This will make your photograph more attractive.
The blue effect is often used by professional photographers to add texture to their designs and make them look even more artistic. You can also utilize blur effects for endless possibilities, be it to evoke inspiration, make a photo into a transparent background for a watermark effect, or to promote your brand as well as protecting your own copyright.
How to blur background on iPhone
Are you wondering how to blur a picture on iPhone? You might think creating an amazing blurred background like what you often see in professionally taken photographs is difficult. However, it is actually easy. The following are some means on how to blur background on iPhone.
- Using your iPhone's Portrait Mode. This is the simplest way to get the blurred background effect that you want for your photo.
You should take note that the iPhone models that have the easy-to-use Portrait mode, which automatically blurs the background of portraits, are iPhone 7 Plus, iPhone 8 Plus, iPhone X (all models), iPhone 11 (all models) and iPhone 12 (all models).
Here are the steps on how to blur photo on iPhone using the Portrait Mode:
- First, open the Camera app on your iPhone.
- Next, swipe through the menu above the shutter button and tap Portrait.
- After that, an additional menu will appear above your shutter. It has different types of portrait lighting. You can choose your preferred portrait lighting, from studio light, natural light, contour light, among others.
- Now, you can point your iPhone's camera at your subject. Don't forget to follow the instructions on the screen. Your iPhone may tell you to move closer to your subject or farther away from your subject.
- When Portrait mode has determined that your composition is ideal, you will notice that the lighting banner will turn yellow.
- After that, you can press the shutter button.
You can adjust the amount of background blur in your photos using the Depth Control feature. This feature can be used in iPhone models such as iPhone XS, iPhone XR, and all models of iPhone 11. Here's how you can do it:
- First, frame your photo in Portrait mode. You should follow the on-screen instructions and wait for the yellow light.
- In the upper right corner, you will see the f-stop button, this is an f followed by a number. You tap on it to open the depth-of-field slider.
- After that, you will notice that a measuring line will appear above the shutter button on the screen.
- You slide it to the right to add more blur and to the left to add less blur.
- Once you are satisfied with the effect, tap the shutter button.
In Portrait Mode, you can adjust the background blur after taking a photo if you're using an iPhone XS, iPhone XR, or the iPhone 11 models. Here's how:
- First, take a photo using Portrait Mode using your iPhone.
- Next, open the Photos app and tap Edit.
- You will notice that the depth control slider will open along with your photo in the edit screen.
- Next, move the slider until the desired blur is achieved.
- After that, tap Done.
- By placing the subject close to the lens. If you don't have an iPhone with the Portrait mode feature, you can still achieve the blurry background you desired. You can get a decently blurred background simply by getting close to your subject.
Here are the steps on how to get a nicely blurred background with an older iPhone or an Apple smartphone without the Portrait mode.
- First, open your iPhone's Camera app and find a nice subject to practice with.
- Next, stand about four feet from your subject and frame your shot on your screen.
- After that, tap the subject to create the best focus and lighting.
- Then, tap your camera's shutter button.
- If you want the best results, snap your photo when your subject is in focus and your background is nicely blurred.
- Using a free app to blur parts of your photo. This option can be used no matter what model of iPhone you own. You can even use this on cheap iPhones in pristine condition, which you can purchase at QwikFone.
These free apps apply tools that blur your background after you take your photo. This means, you can use them on photos taken years or minutes ago. One such app is the Snapseed. Here's how you can blur parts of your pictures using the Snapseed app.
- First, download Snapseed and open it on your iPhone.
- Next, tap the screen to open your Photo library and choose a photo that you want to edit.
- Then, you tap Tools and scroll through the options. Tap Lens Blur.
- You will notice that your photo will appear on the screen with a circle framing the area to keep in focus.
- Pinch your fingers together to make the circle smaller or to elongate it around your subject.
- Next, tap the edit slider at the bottom of the screen to make further adjustments, including the strength of the blur, the size of the transition, and the vignette strength.
- Once you are satisfied with the results, tap the checkmark in the lower right.
- After that, choose Export, then Share or Save.
- Framing your subject with a dreamy blurred vignette. This is an editing technique on how to blur a picture on iPhone. Using this technique, rather than blurring the entire background, you are going to create a blurred vignette around the edges of the scene.
The blurred edges of the scene will help draw attention to the central focused area. The blur, then, acts as a frame which will draw the viewer's eye toward the subject.
The blurred vignette effect also adds a dreamy quality to your photo.
How to Blur Background on iPhone | Blur Photo on iPhone
What blur background apps to use for iPhone
You can also use blur background apps to get the perfect photo that you want. Apart from Snapseed, here are some of the best blur background iPhone apps for blurring your photos:
- FaceTune 2. The FaceTune 2 is a free portrait editing app with a simple background blur tool. You can use this to blur the background with just the tap of a button. This app is best for quickly blurring the background in photos of people.
The FaceTune 2 app includes amazingly powerful tools, which includes the Defocus tool for blurring backgrounds. With just a single tap, the Defocus tool will blur the background of your picture. Your portrait subject will remain tack sharp.
Not satisfied with the background blur? You can always use FaceTune 2's more precise blur tool to erase parts of the blur. You can also use your finger to add blur directly to the photo.
What's more, the FaceTune 2 has a great feature you can use to change the strength of the blur. - FabFocus. The FabFocus is a precise photo blur app that includes both smart and manual selection tools for custom blurring. This app is best for blurring the background behind subjects with complex edges.
The FabFocus is an app that allows you to blur any type of subject. This app offers powerful tools with impressive effects which you can use to easily create a realistic background blur in your photos.
The app's AfterFocus allows you to select a foreground, midground, and background. It takes these features into account when blurring behind your subject. AfterFocus also creates the type of blur you'd get from a high-end camera. - Tadaa SLR. Tadaa SLR has an edge-detection technology for improved blur accuracy and has customizable blur effects. This app is best for creating precise, DSLR-like background blur.
Tadaa SLR's background blur is artistic, realistic, and high-quality. This apps offers background blur for any subject. The blurring is done by painting on the subject with your finger. Later, you can modify the strength and quality of the blur.
This app also offers several creative blur options, including the linear blur effect which you can use to create stunning tilt-shift photos. - iColorama. This app will enable you to unleash your inner artist. You can edit your photos as well as draw or paint. You can use iColorama to apply blur effects and add text to your photos.
This iOS app allows you to manipulate your images in any way you want. Each effect offered by iColorama is remarkably easy to apply. This means you won't have to waste a ton of time on editing your photos before sharing them with your friends. - PhotoToaster. This app is among the best apps you can use to blur the background of your photos or to apply blur effects in any other way you want.
PhotoToaster features a noise-reduction tool that can be useful for editing photos captured in low light conditions. Adjusting colors or using filters is simple. This app also has a Brush FX tool that can help you to highlight areas of photos that are in focus. - Focus In Motion. This app is perfect for adding motion blur to your photos since it provides twelve fully adjustable motion effects that will make your photos look more dynamic.
Through the Focus In Motion app, you can either use a focus shape to designate the area of the photo you want to keep in focus or you can manually create the focus zone in the app's Draw mode.
You can simply shake your iPhone to remove the drawing you don't like and if you like the motion blur you've applied share the photo on Twitter, Facebook or Dropbox. - Slow Shutter Cam. This app is designed to help you create stunning effects wherein moving objects in your photos leave a trail. Slow Shutter Cam offers several different shooting modes such as Motion Blur, Light Trail or Low Light.
Motion Blur mode is suited for creating photos that have a blurred background, while the Low Light mode will enable you to paint with light.
You can adjust the focus with Slow Shutter Cam by tapping on the area of the screen where you want the focus to be. This app also has Blur Strength control feature which will let you control the amount of blur your iPhone camera is creating. - Enlight. If you are looking for an app that will give you the professional blur effects that you want to achieve, the Enlight app is the right one for you.
This app has the radial, linear or mirror and tilt-shift features that enable you to blur image backgrounds and create artistic effects that will impress your friends and followers on social media.
Apart from its powerful blur effects, the Enlight app has all the photo editing tools required for professional photo editing.
Through this app, you can convert your photos to black and white, create a double exposure effect, or add text to images in only a few simple steps. - Longexpo. You can take breathtaking night shots using this app. Longexpo is the best app for beginner photographers. This app allows you to choose the focus point. This is a great app you can use to create photos that have a blurred background.
- Filterstorm Neue. You can use this app to blur the background of your photo. Not only that, Filterstorm Neue can help iPhone photographers create beautiful images with their phones with its features. It has the Clarity feature which can be used to make objects in focus even sharper than they appeared in the original photo.